Installation Flow Overview
This document describes the step-by-step process for installing the system using the Web UI.
Welcome
Date and time
Software selection
Installation method
Storage configuration
Create Account
Review and install
Installation progress
Detailed Step Descriptions
1. Welcome
Select the language & keyboard to use during installation and for the target system.
2. Date and time
Configure your system’s timezone, date, and time settings. You can also set up network time synchronization.
3. Software selection
Select packages to install by choosing a base environment.
4. Installation method
Choose the target device(s) for the installation and the partitioning scenario.
Storage Partitioning Scenarios
The Web UI installer provides several storage partitioning scenarios to accommodate different installation needs:
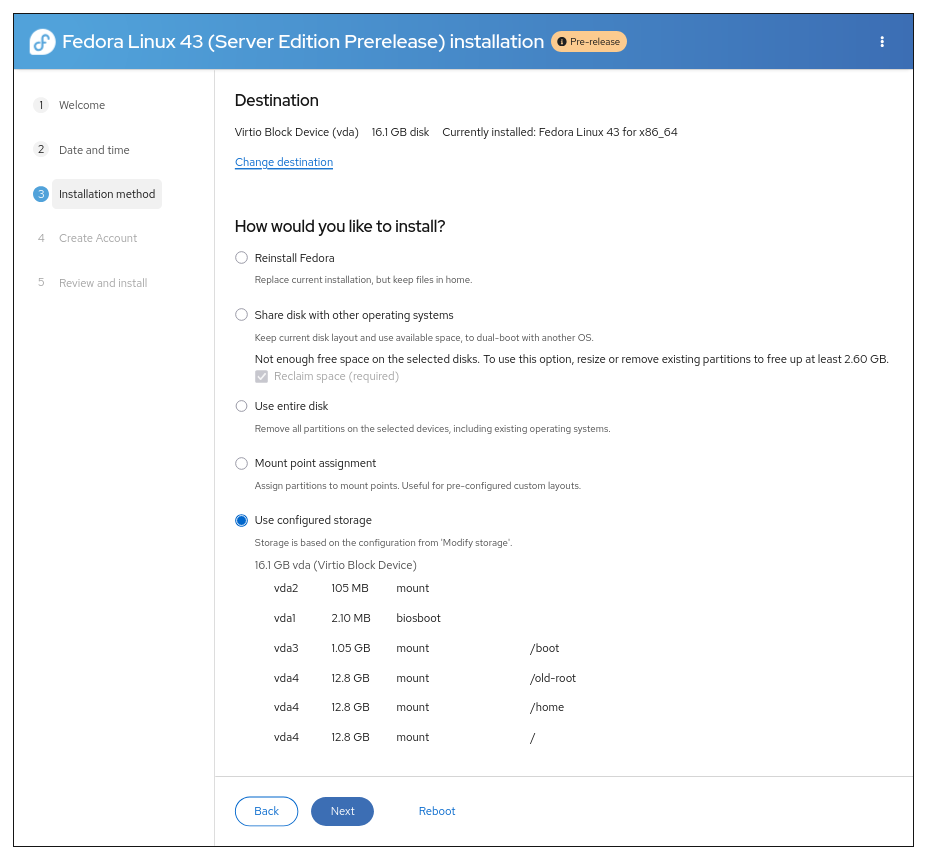
Use entire disk
Completely erases all data on the selected disks and automatically creates a new partition layout. Use this for clean installations when you do not need to preserve any existing data.
Mount point assignment
Allows you to manually assign mount points to specific devices for complete control over the partition layout. Use this if you have custom storage requirements or want to reuse existing partitions selectively.
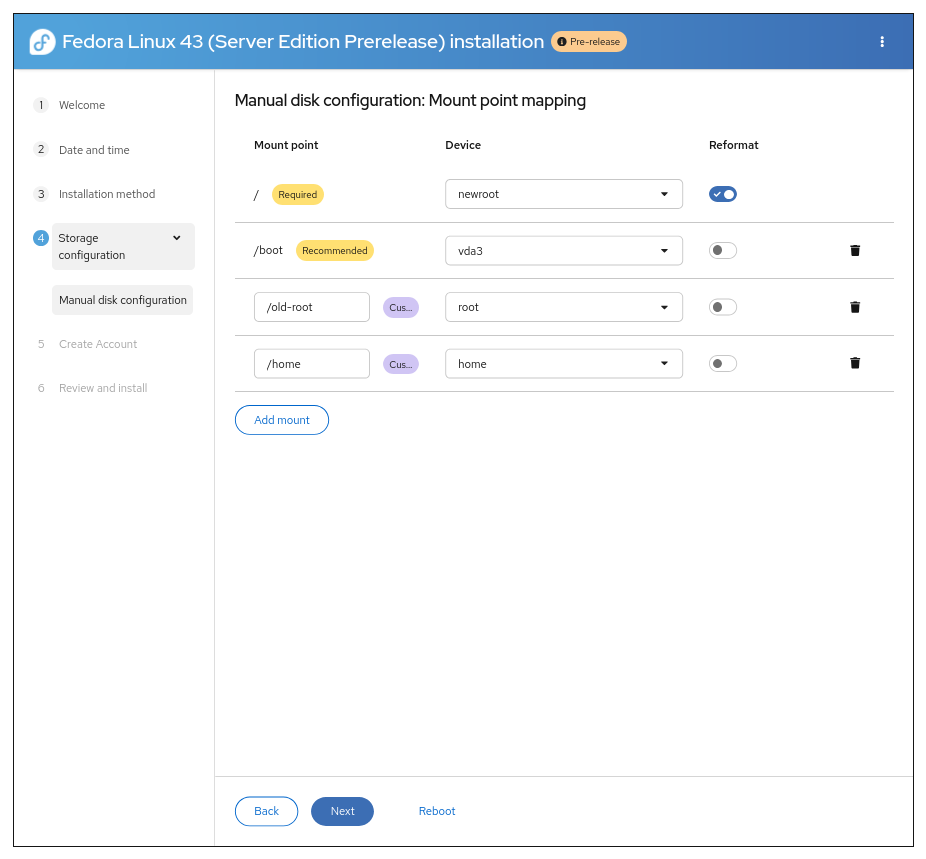
Reinstall Fedora
Reinstalls Fedora while preserving your existing home directory and user data. Use when you want to refresh your Fedora installation while keeping all your personal files and settings. This option only appears when exactly one existing Fedora system is detected and the system has only the default mount points.
Use configured storage
Uses storage configuration created through the external Cockpit storage editor tool for non-default layouts. This option only appears when you have configured and confirmed a valid storage layout through cockpit-storage.
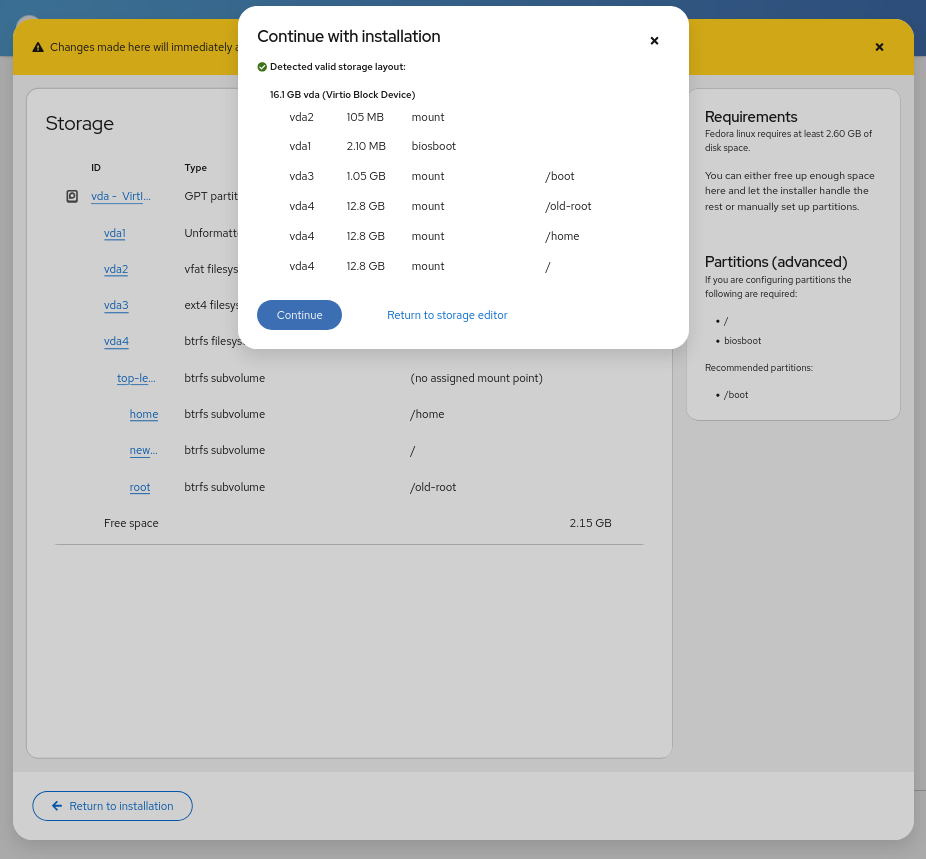
Use free space
Installs using only unallocated free space, preserving existing partitions and data. Use when you want to dual-boot with existing operating systems. This option only appears when existing partitions are detected on the selected disks.
5. Storage configuration
Automatic partitioning configuration, disk encryption, and storage options.
6. Create Account
Set up user accounts and administrator passwords for your system.
7. Review and install
Review your installation settings and start the installation process.
8. Installation progress
Monitor the installation progress and completion.